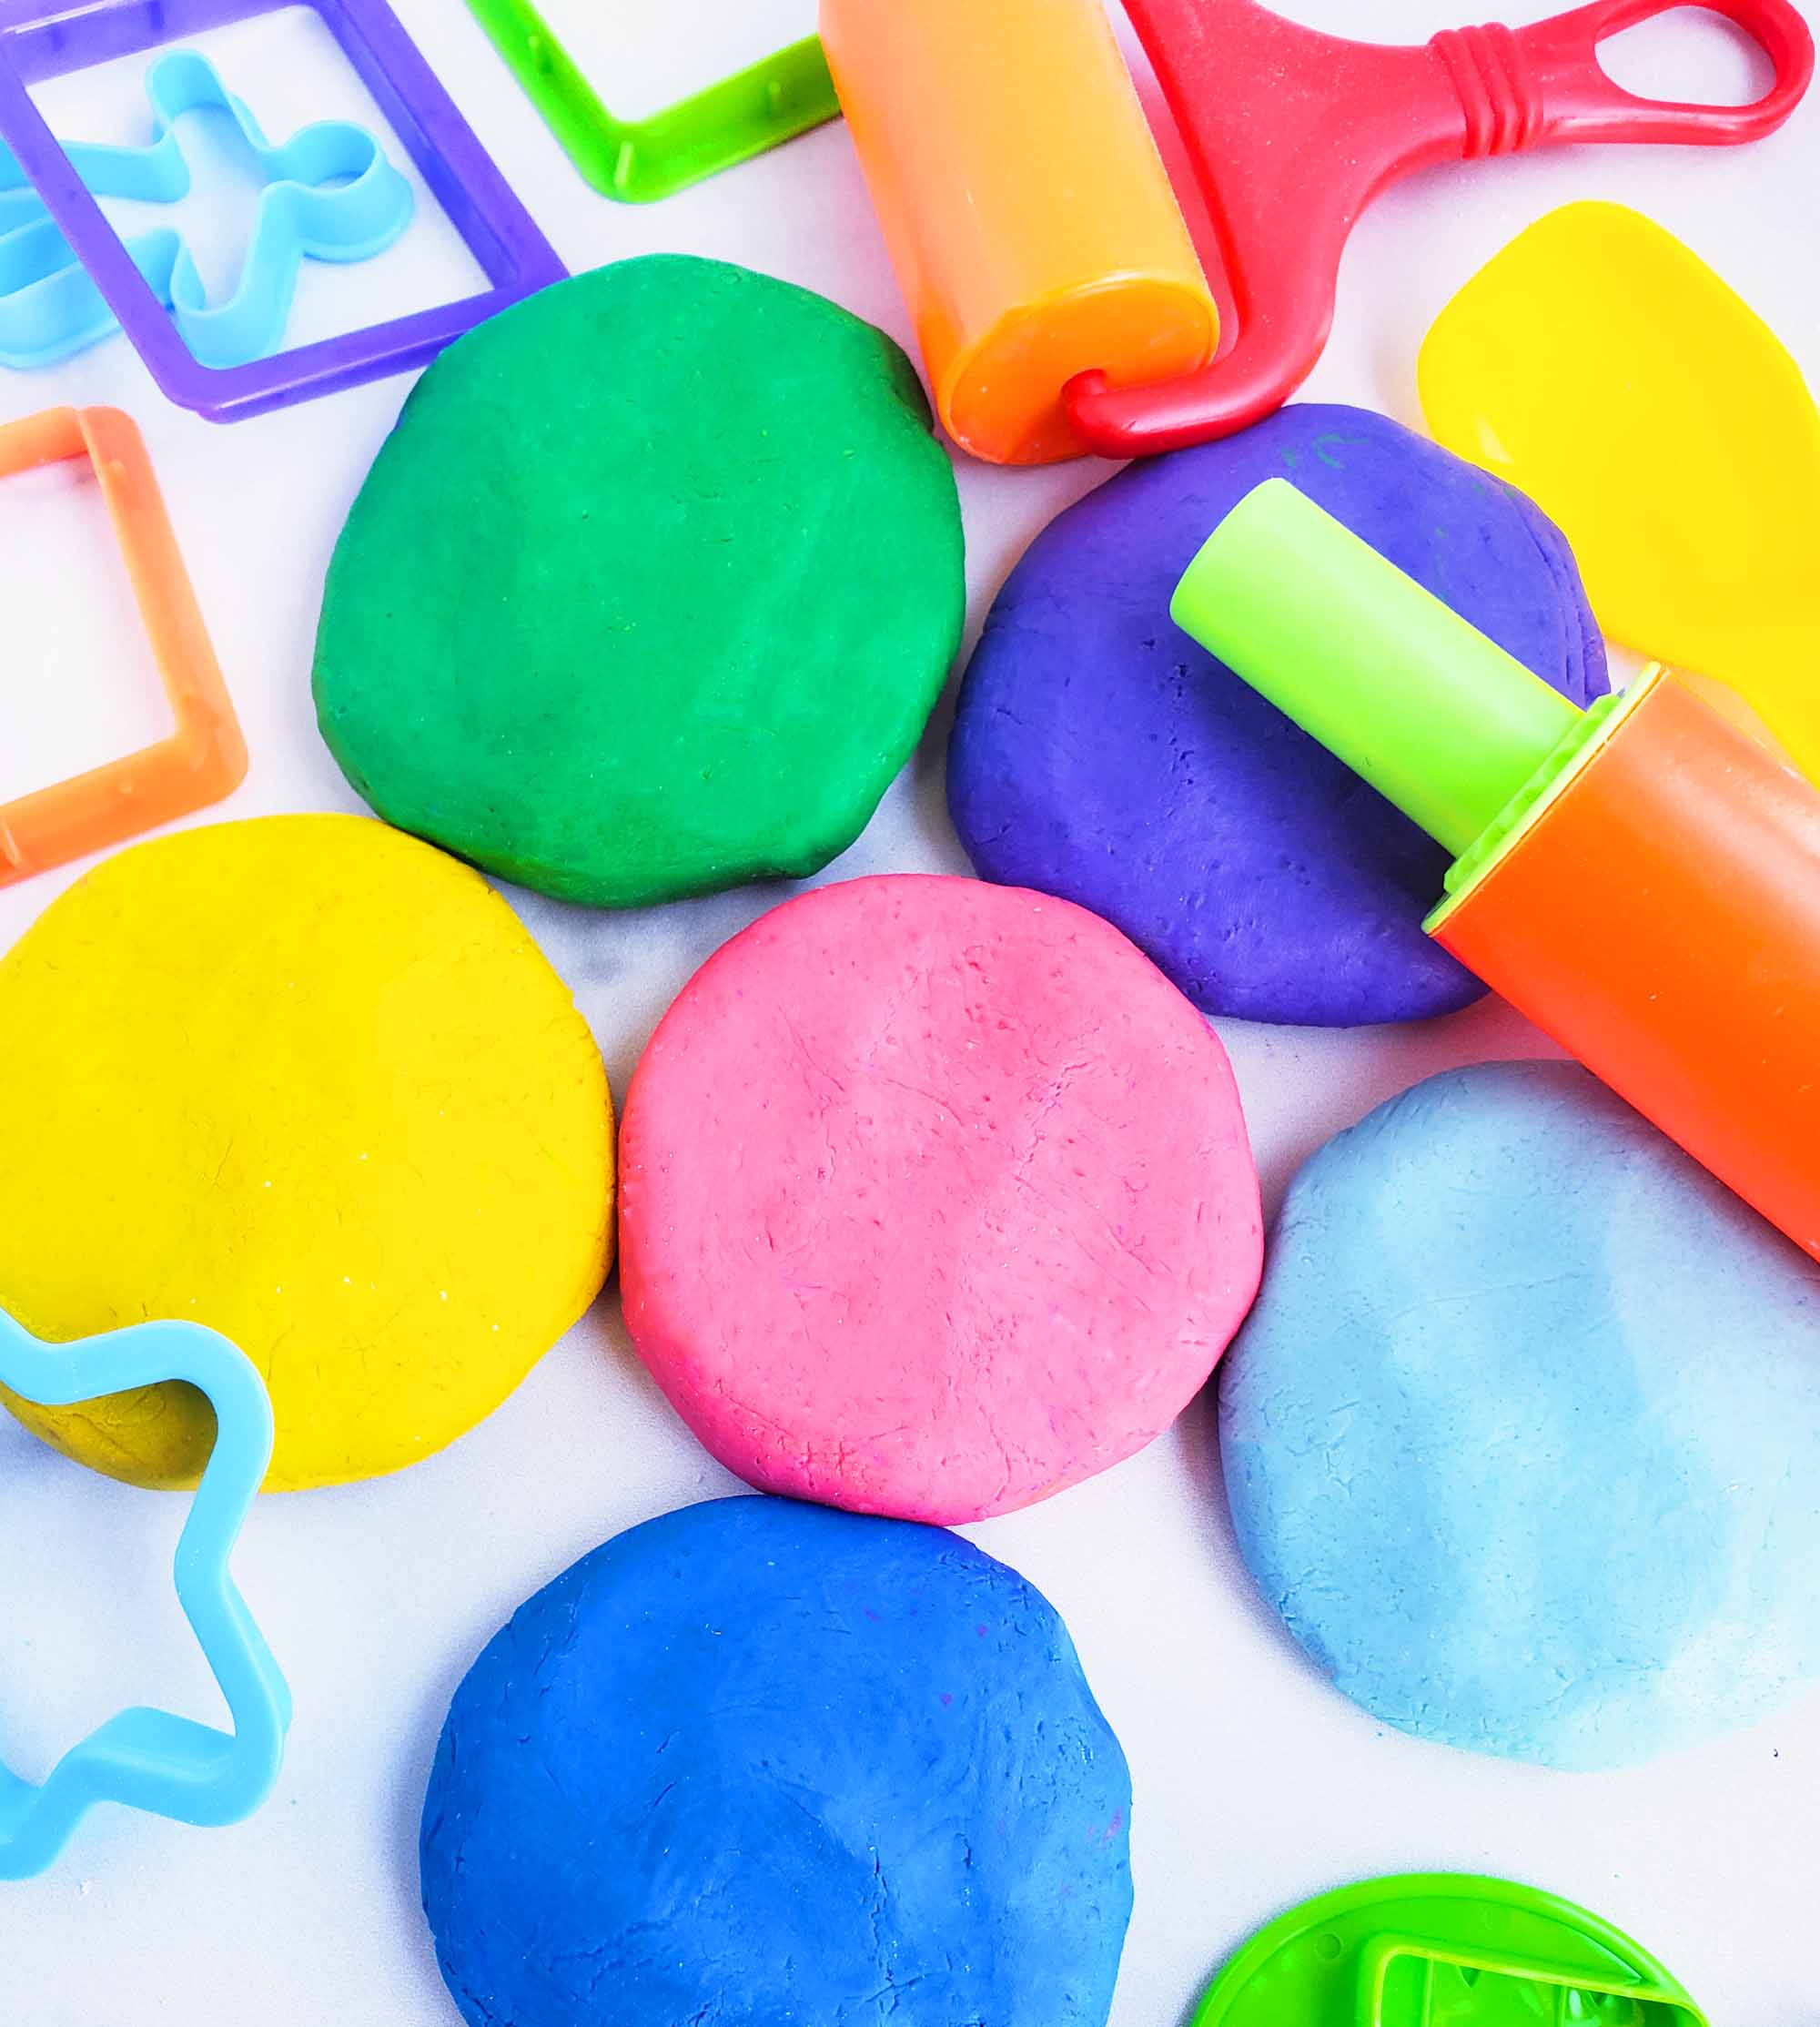
If you’re looking for a super fun, indoor activity for the kids, try making this Easy No-Cook DIY Playdough! It so soft, squishy and takes less than 10 minutes to make!
Thank you, Sprouts Farmers Market, for sponsoring this post! As always, all thoughts and opinions are truly my own.
I don’t know about you, but my kids LOVE playdough!! Every time I leave the house to run a few errands, my kids always ask if I can pick up more playdough, which can get a little pricey. Since we are spending more time at home these days, I’ve decided to save a little money and make my own No-Cook DIY Playdough!
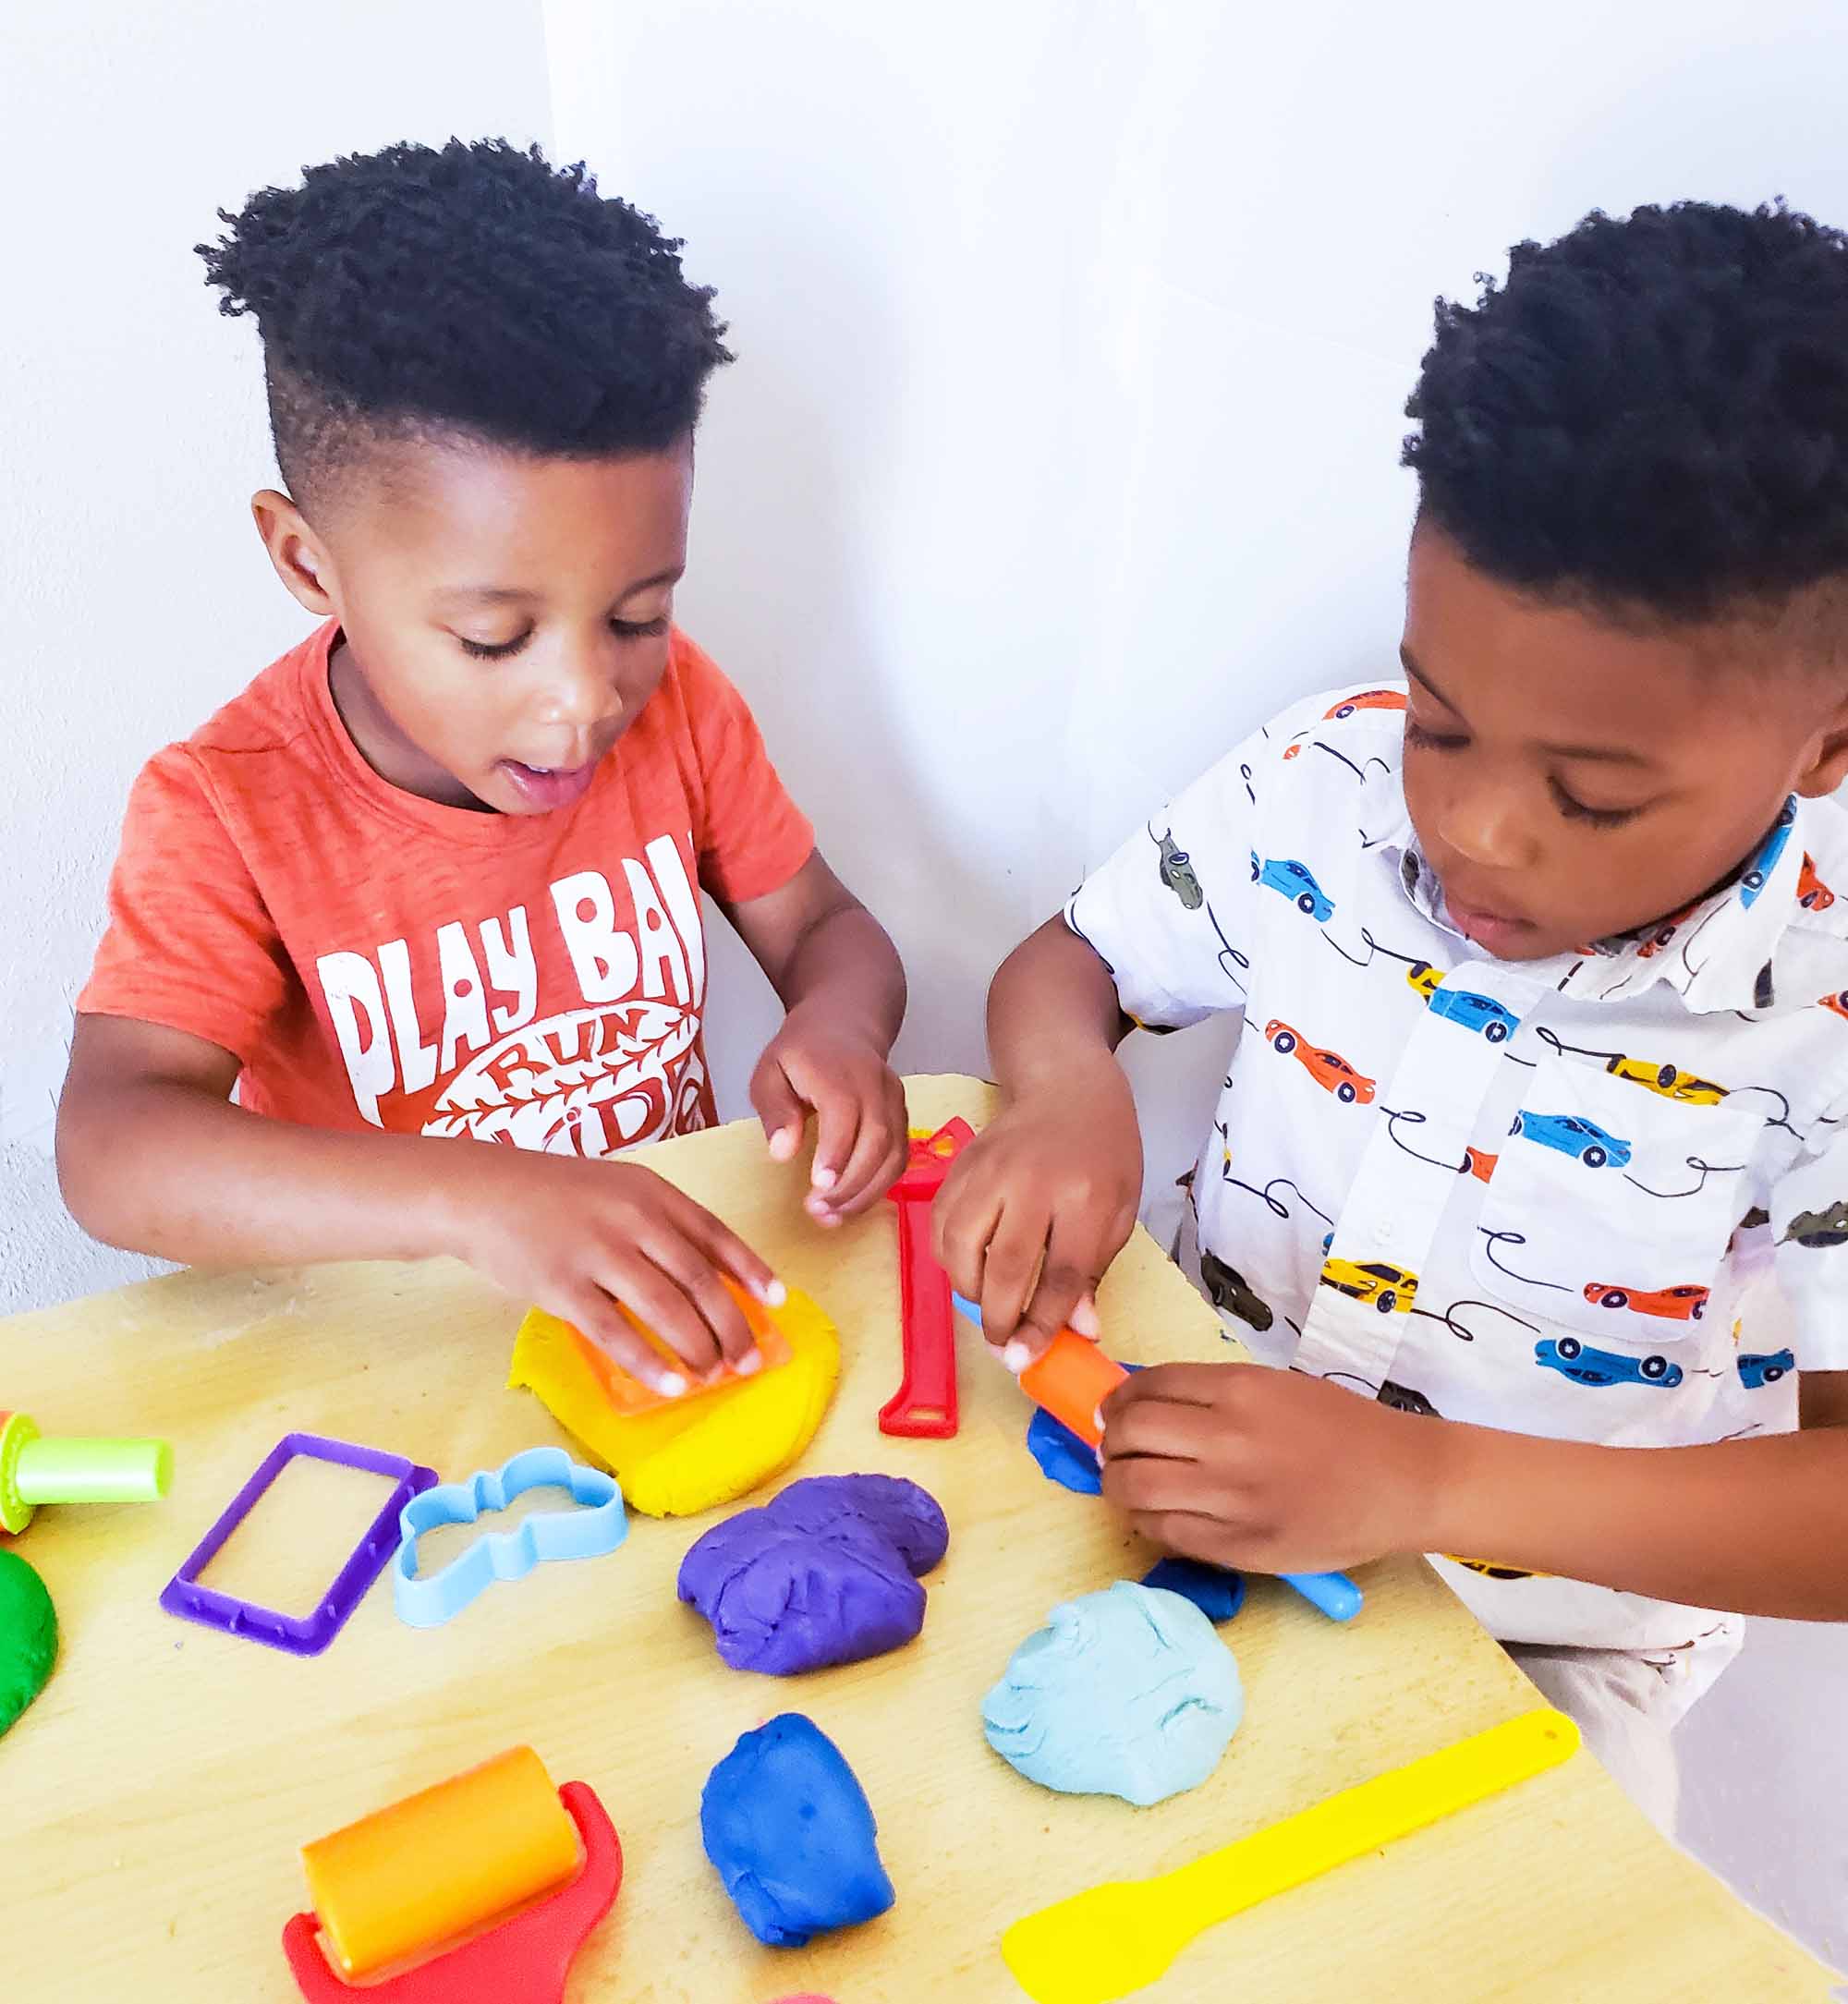
I’ve experimented with several playdough recipes, and I must say that this recipe is my favorite. Not only is it quick and easy to make, but it’s also the perfect consistency for hand strengthening, which is beneficial for preschoolers.
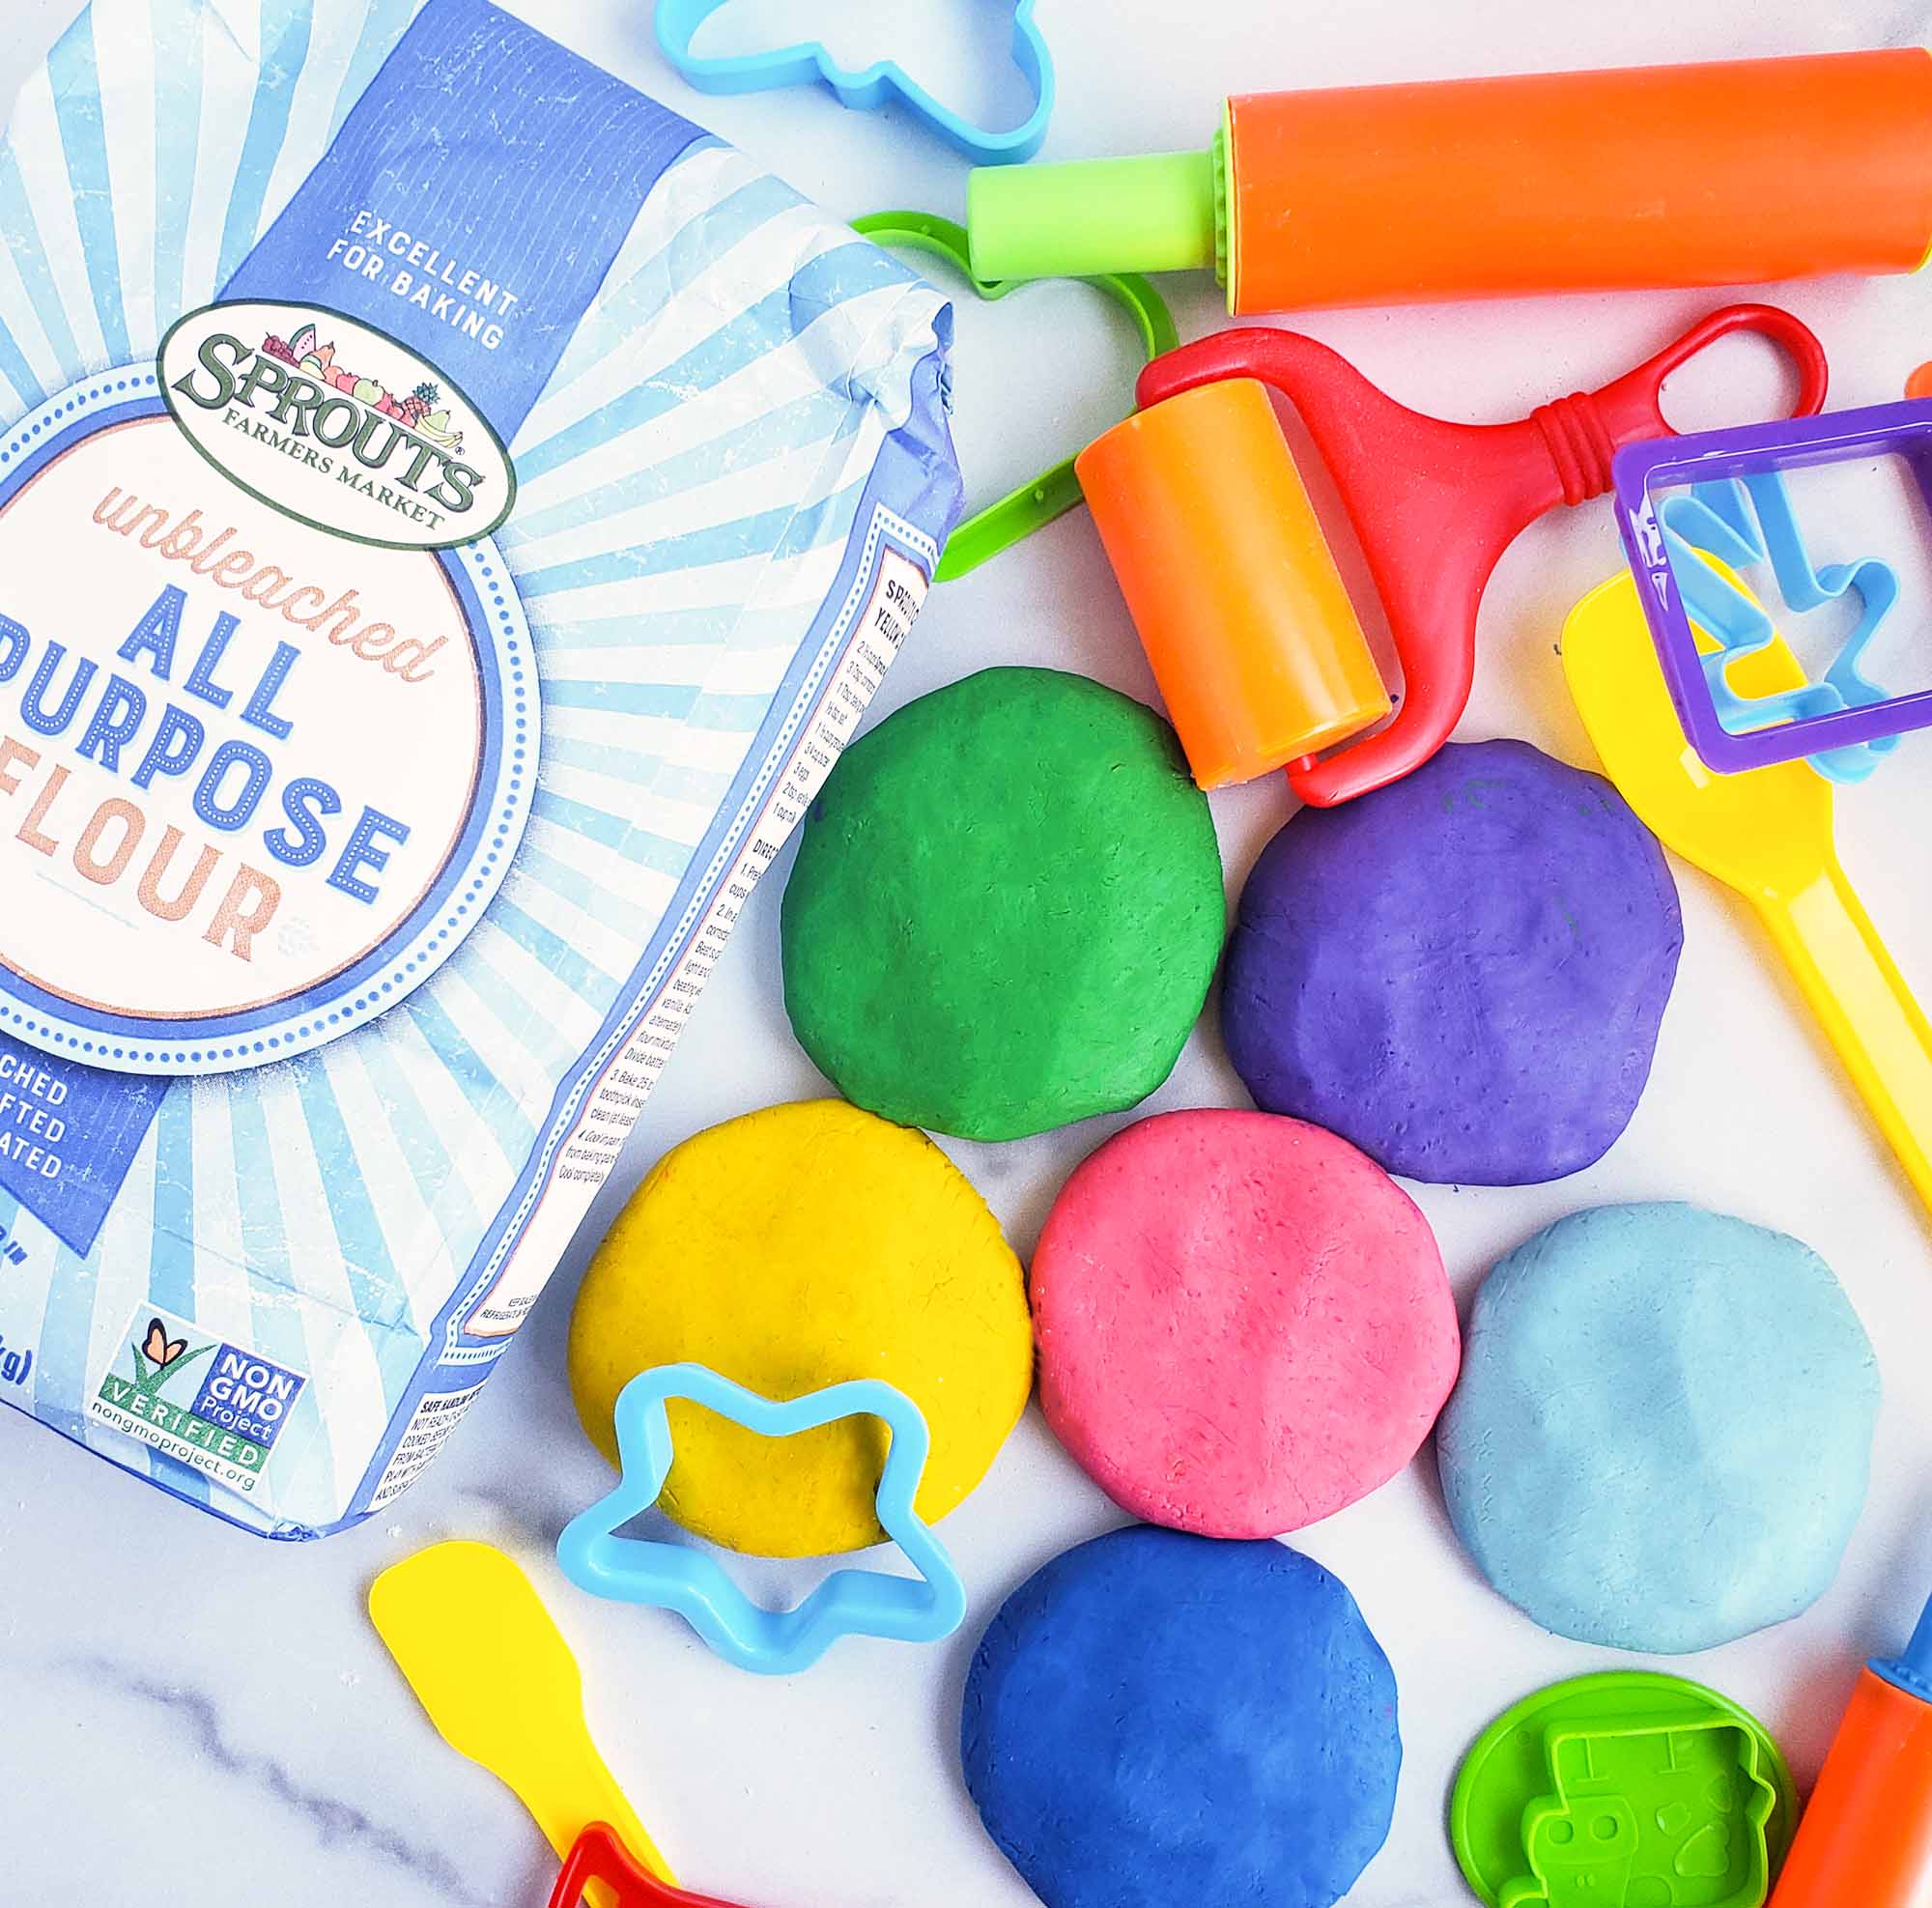
This Easy No-Cook Playdough only requires a few ingredients, such as flour, oil, and salt, that are located right in your pantry! During my most recent shopping trip to Sprouts Farmers Market, I stocked up on several of these items. Sprouts always has everything that we need for our dinner recipes and DIY crafts, and it’s always well-stocked!
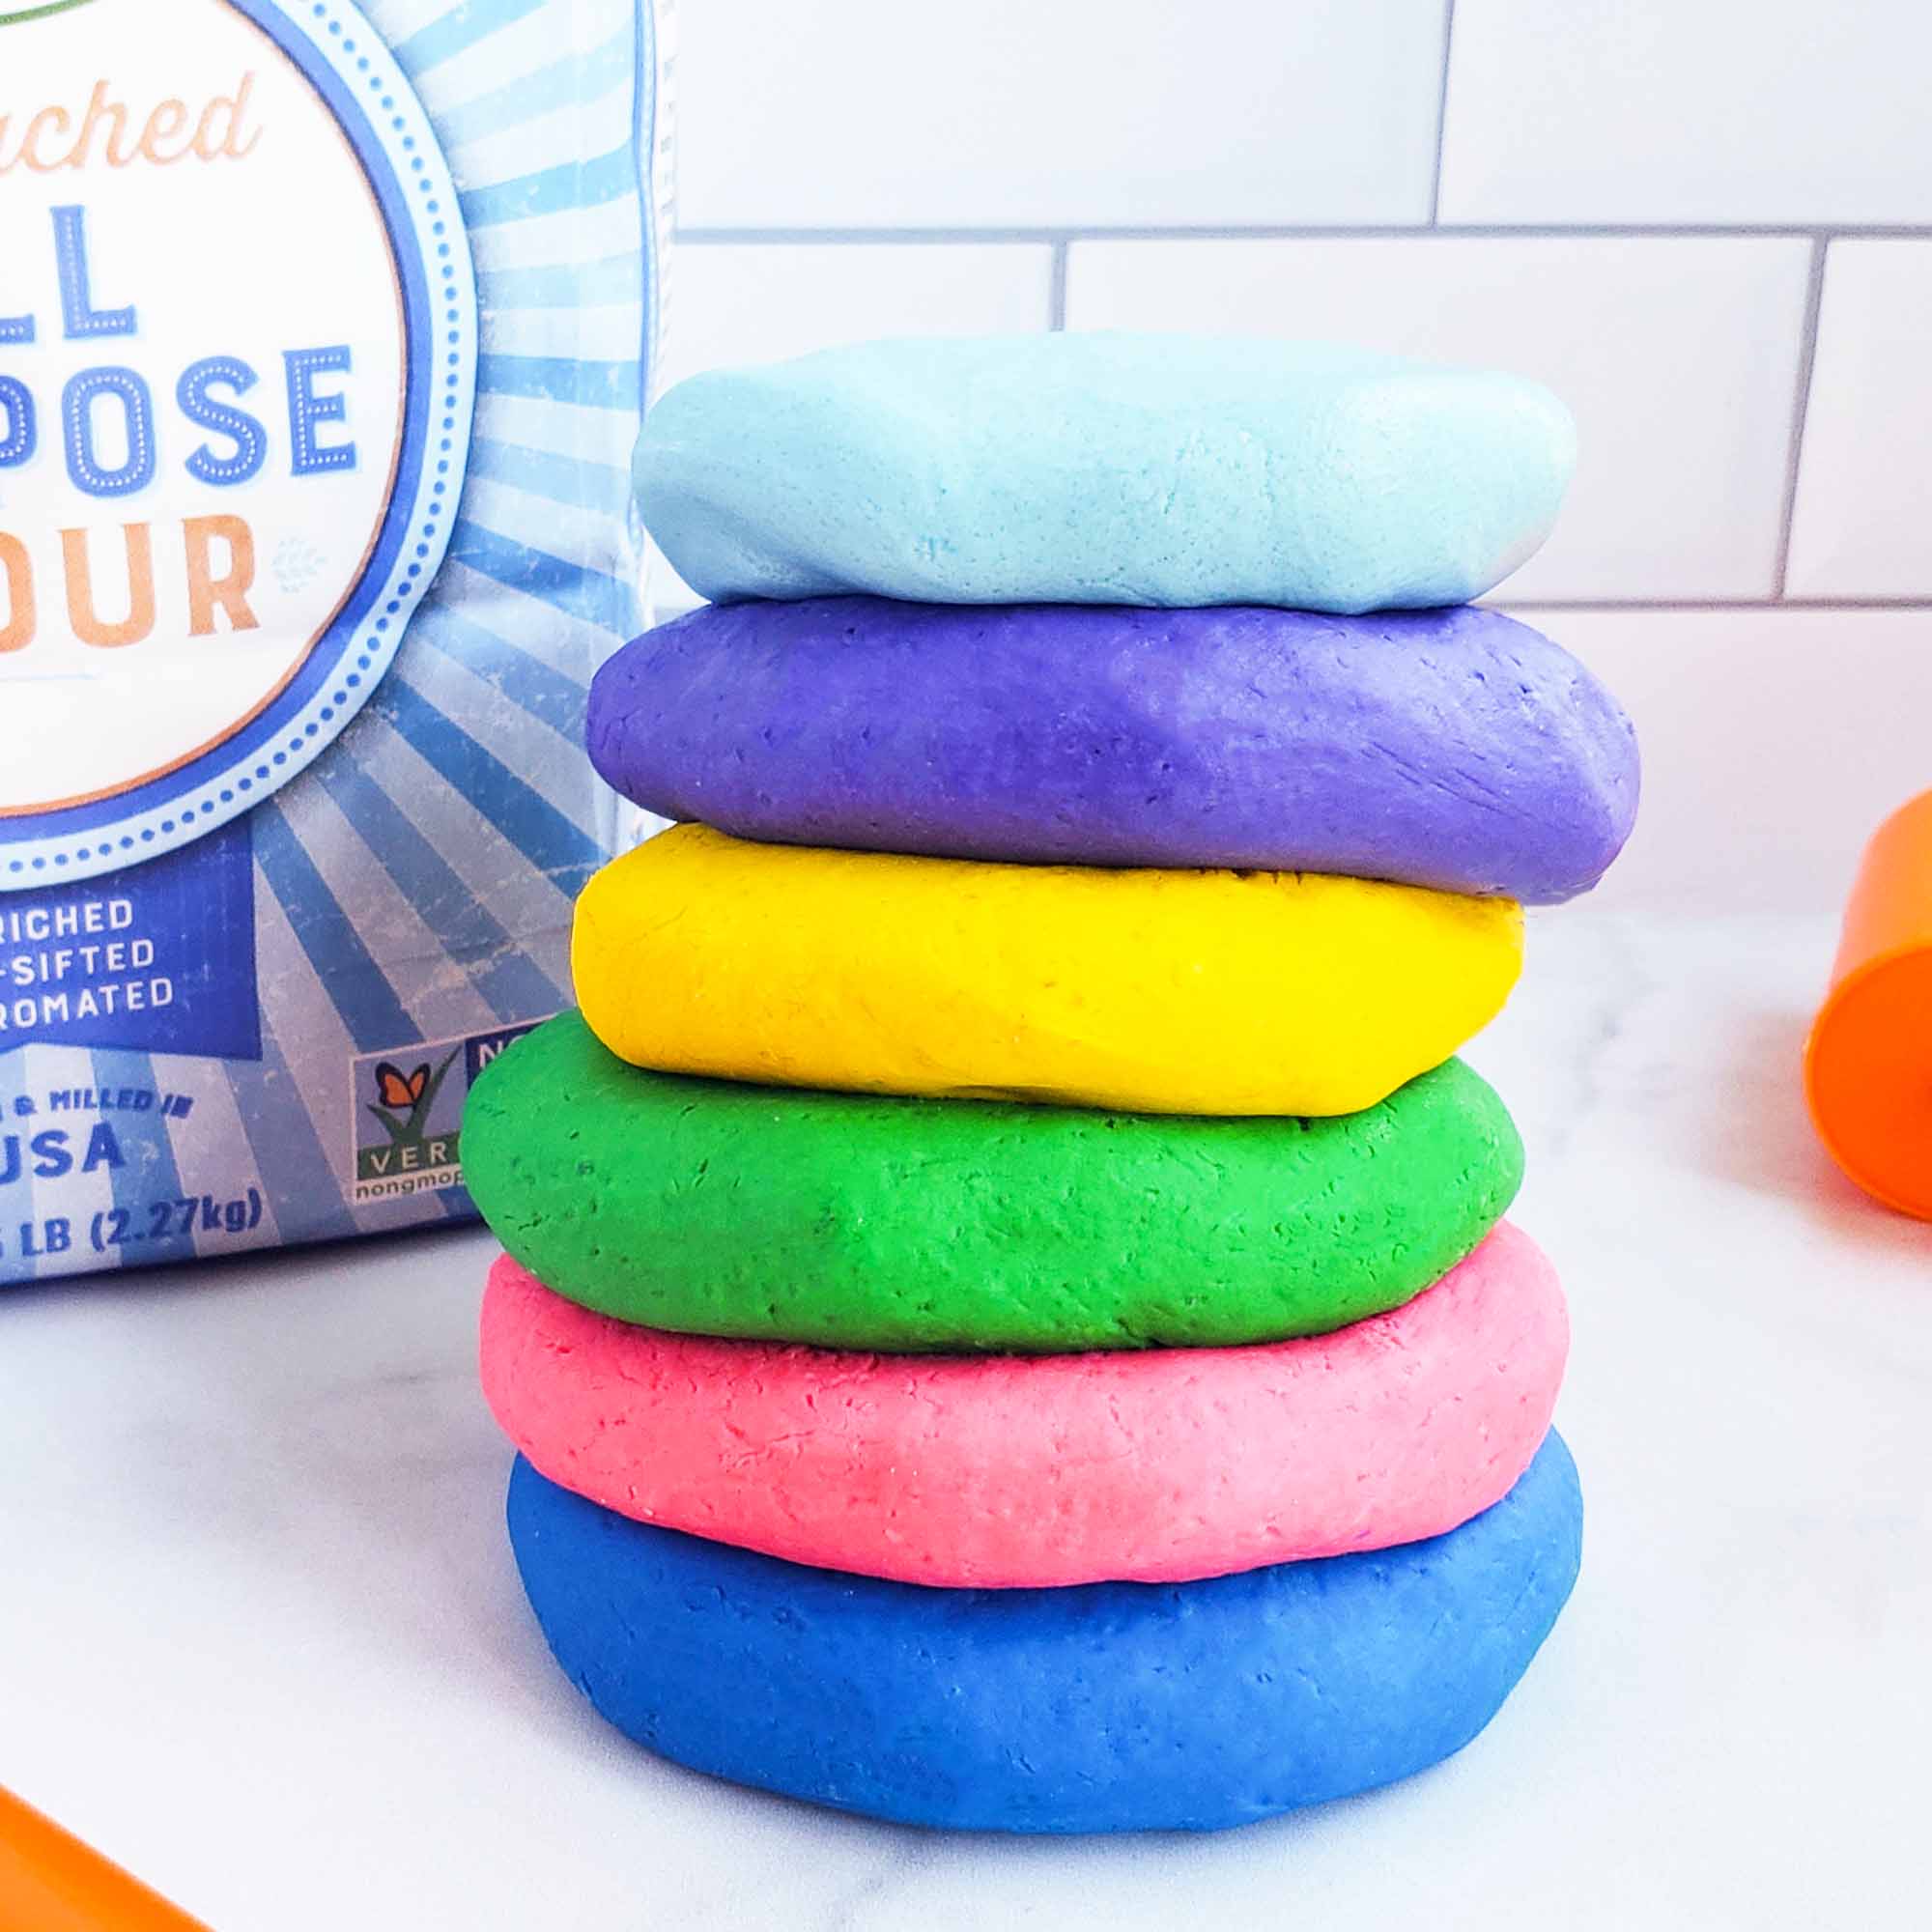
HOW TO MAKE NO-COOK DIY PLAYDOUGH
I created this recipe to make small batches so it would be easy and quick to make several colors. Each batch makes about one cup of play dough.
SUPPLIES:
• flour
• salt
• cooking oil
• food coloring
• large mixing bowl
• measuring cups and spoons
• aluminum foil, parchment paper or wax paper
• wooden spoon for stirring
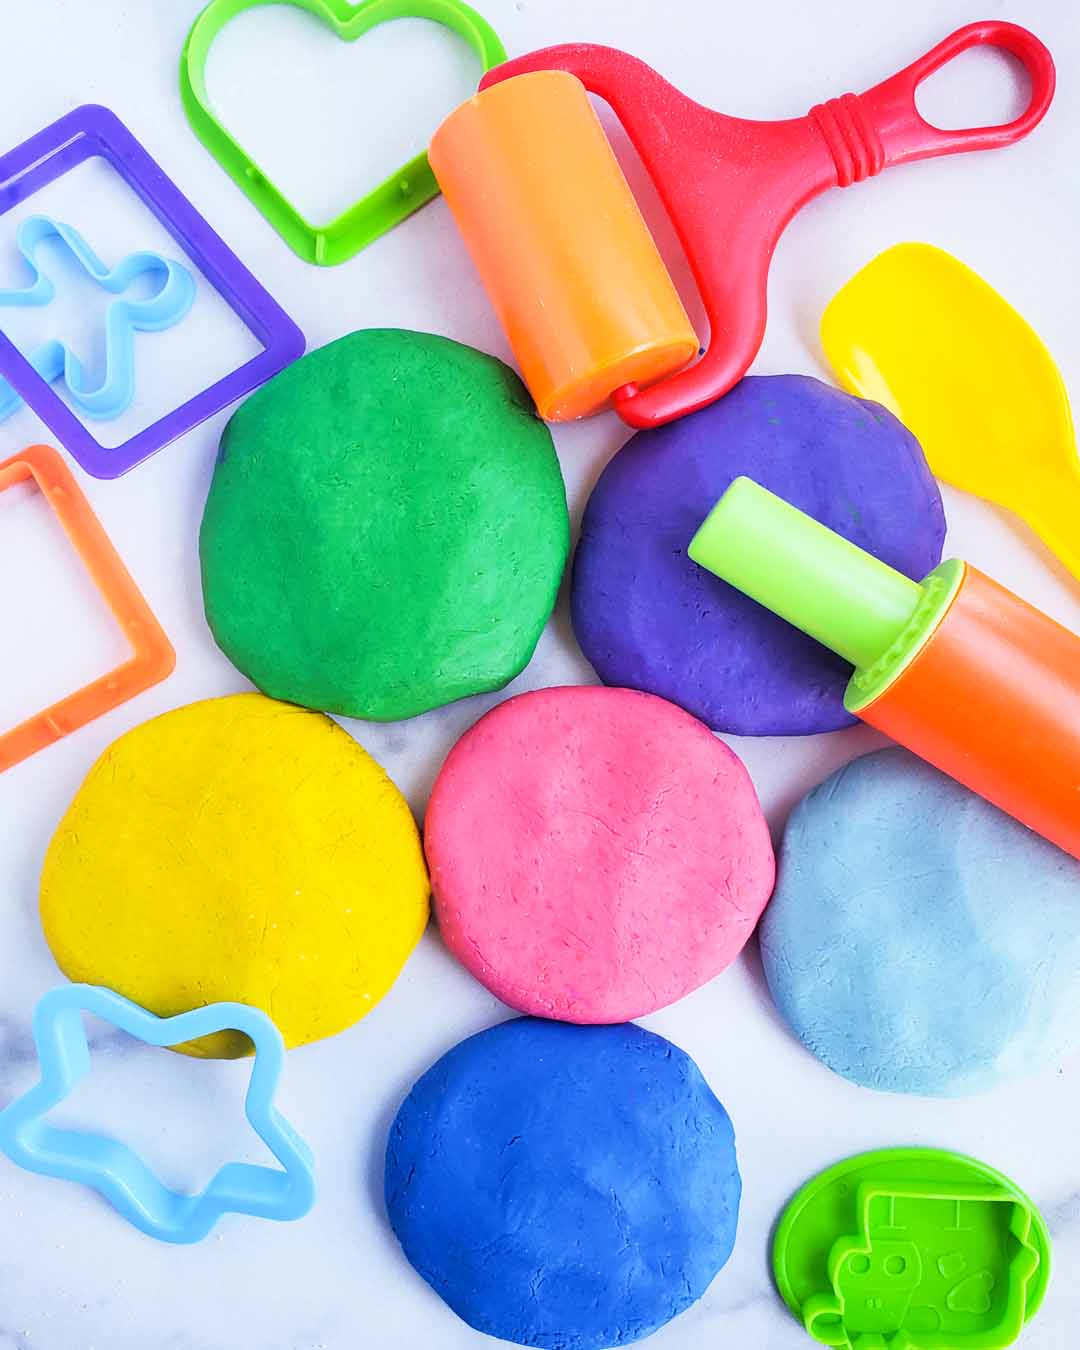
Start by combining the flour and salt in a medium bowl. Slowly stir in the oil, warm water, and about 2-3 drops of food coloring until the mixture is well combined.
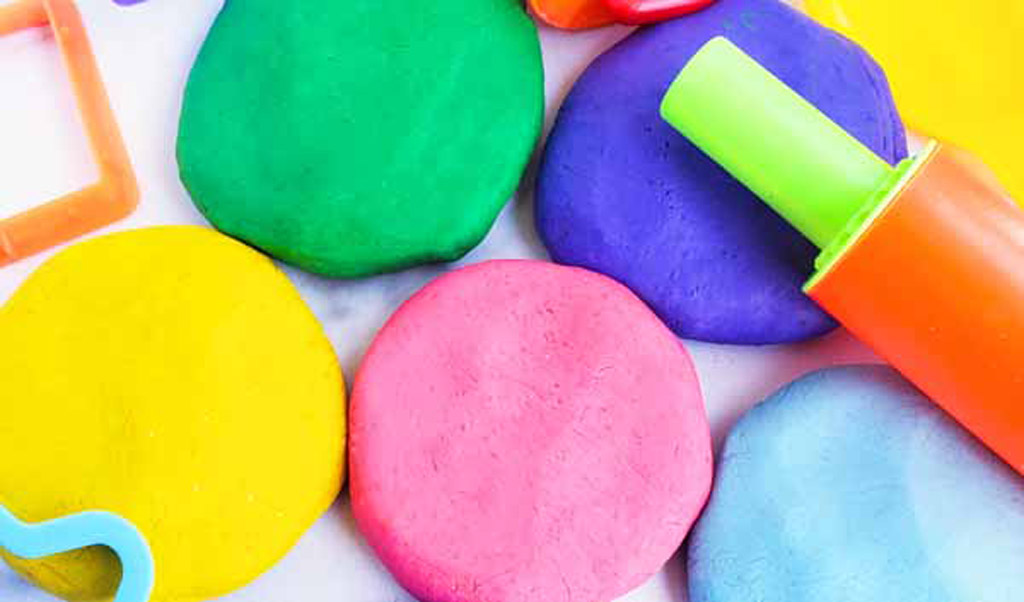
Transfer the dough to a flat surface and let it sit for a few minutes. It may feel a bit sticky, but whatever you do, DO NOT add more flour! As the dough sits, the salt will absorb the extra moisture.
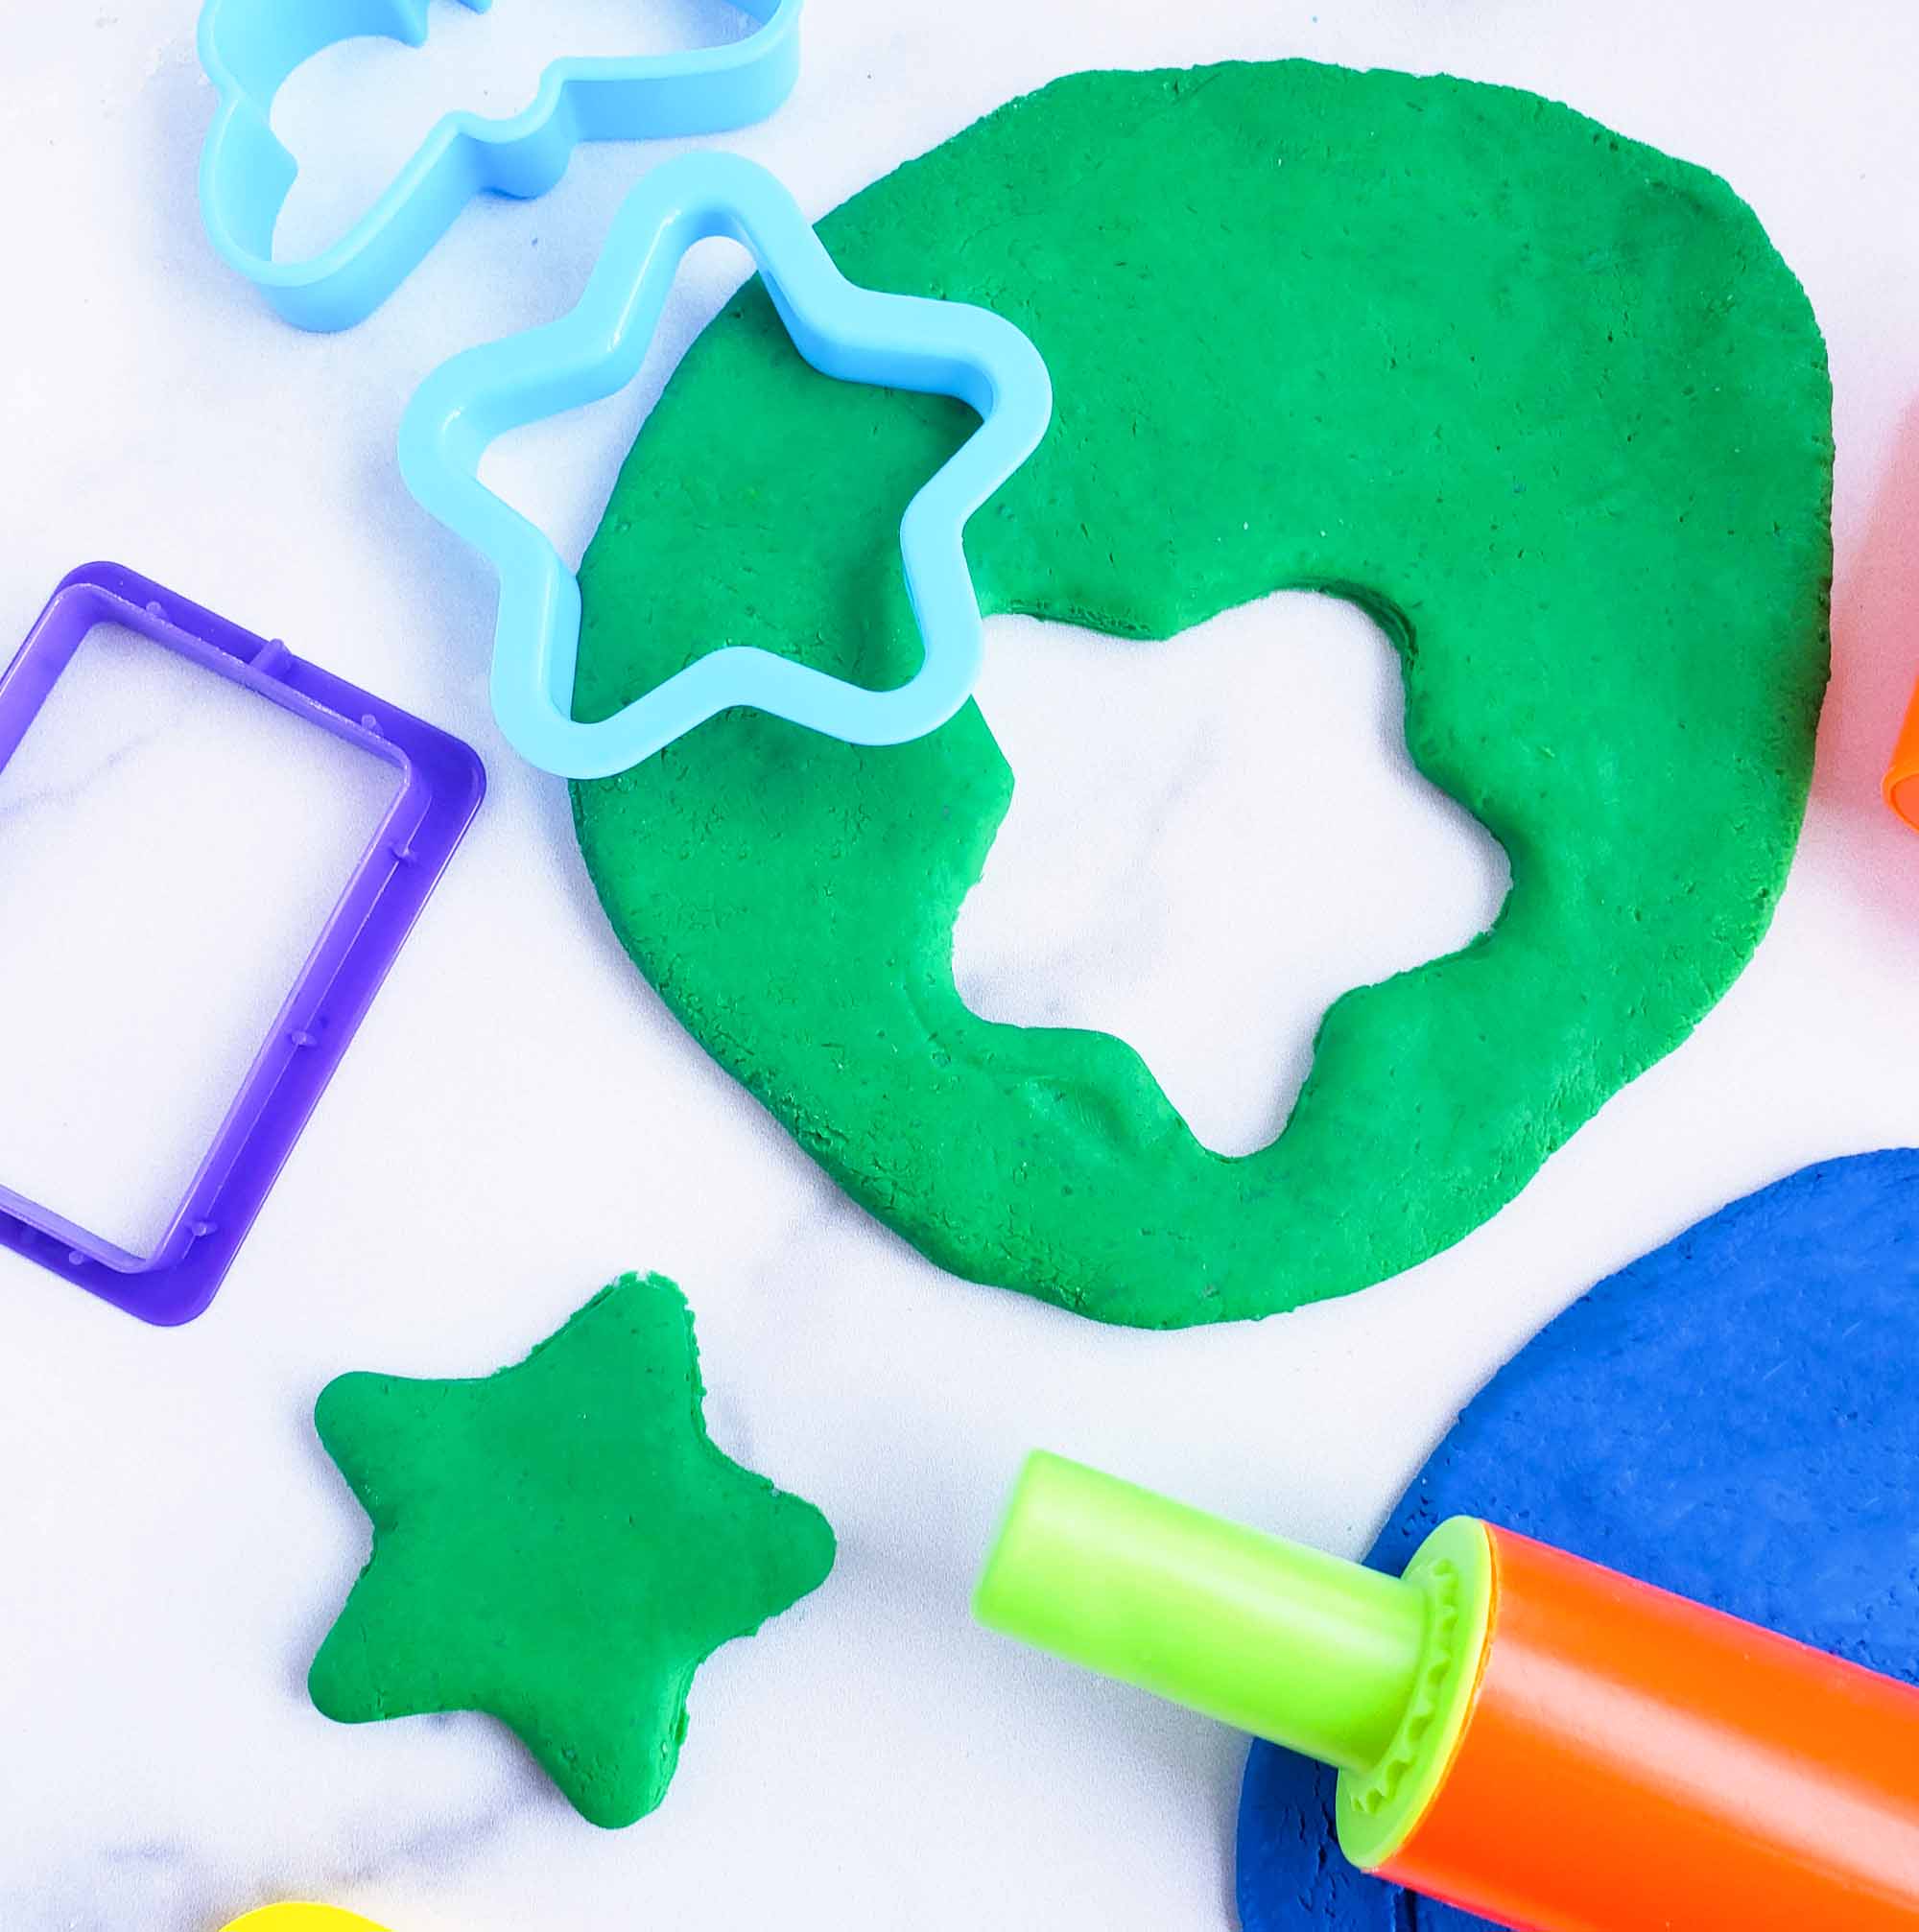
Let the dough sit for about 5-7 minutes, before kneading. If your dough is sticky after sitting, add an additional 2 tablespoons of flour at a time until it is the perfect consistency.
HOW TO STORE YOUR DIY PLAYDOUGH:
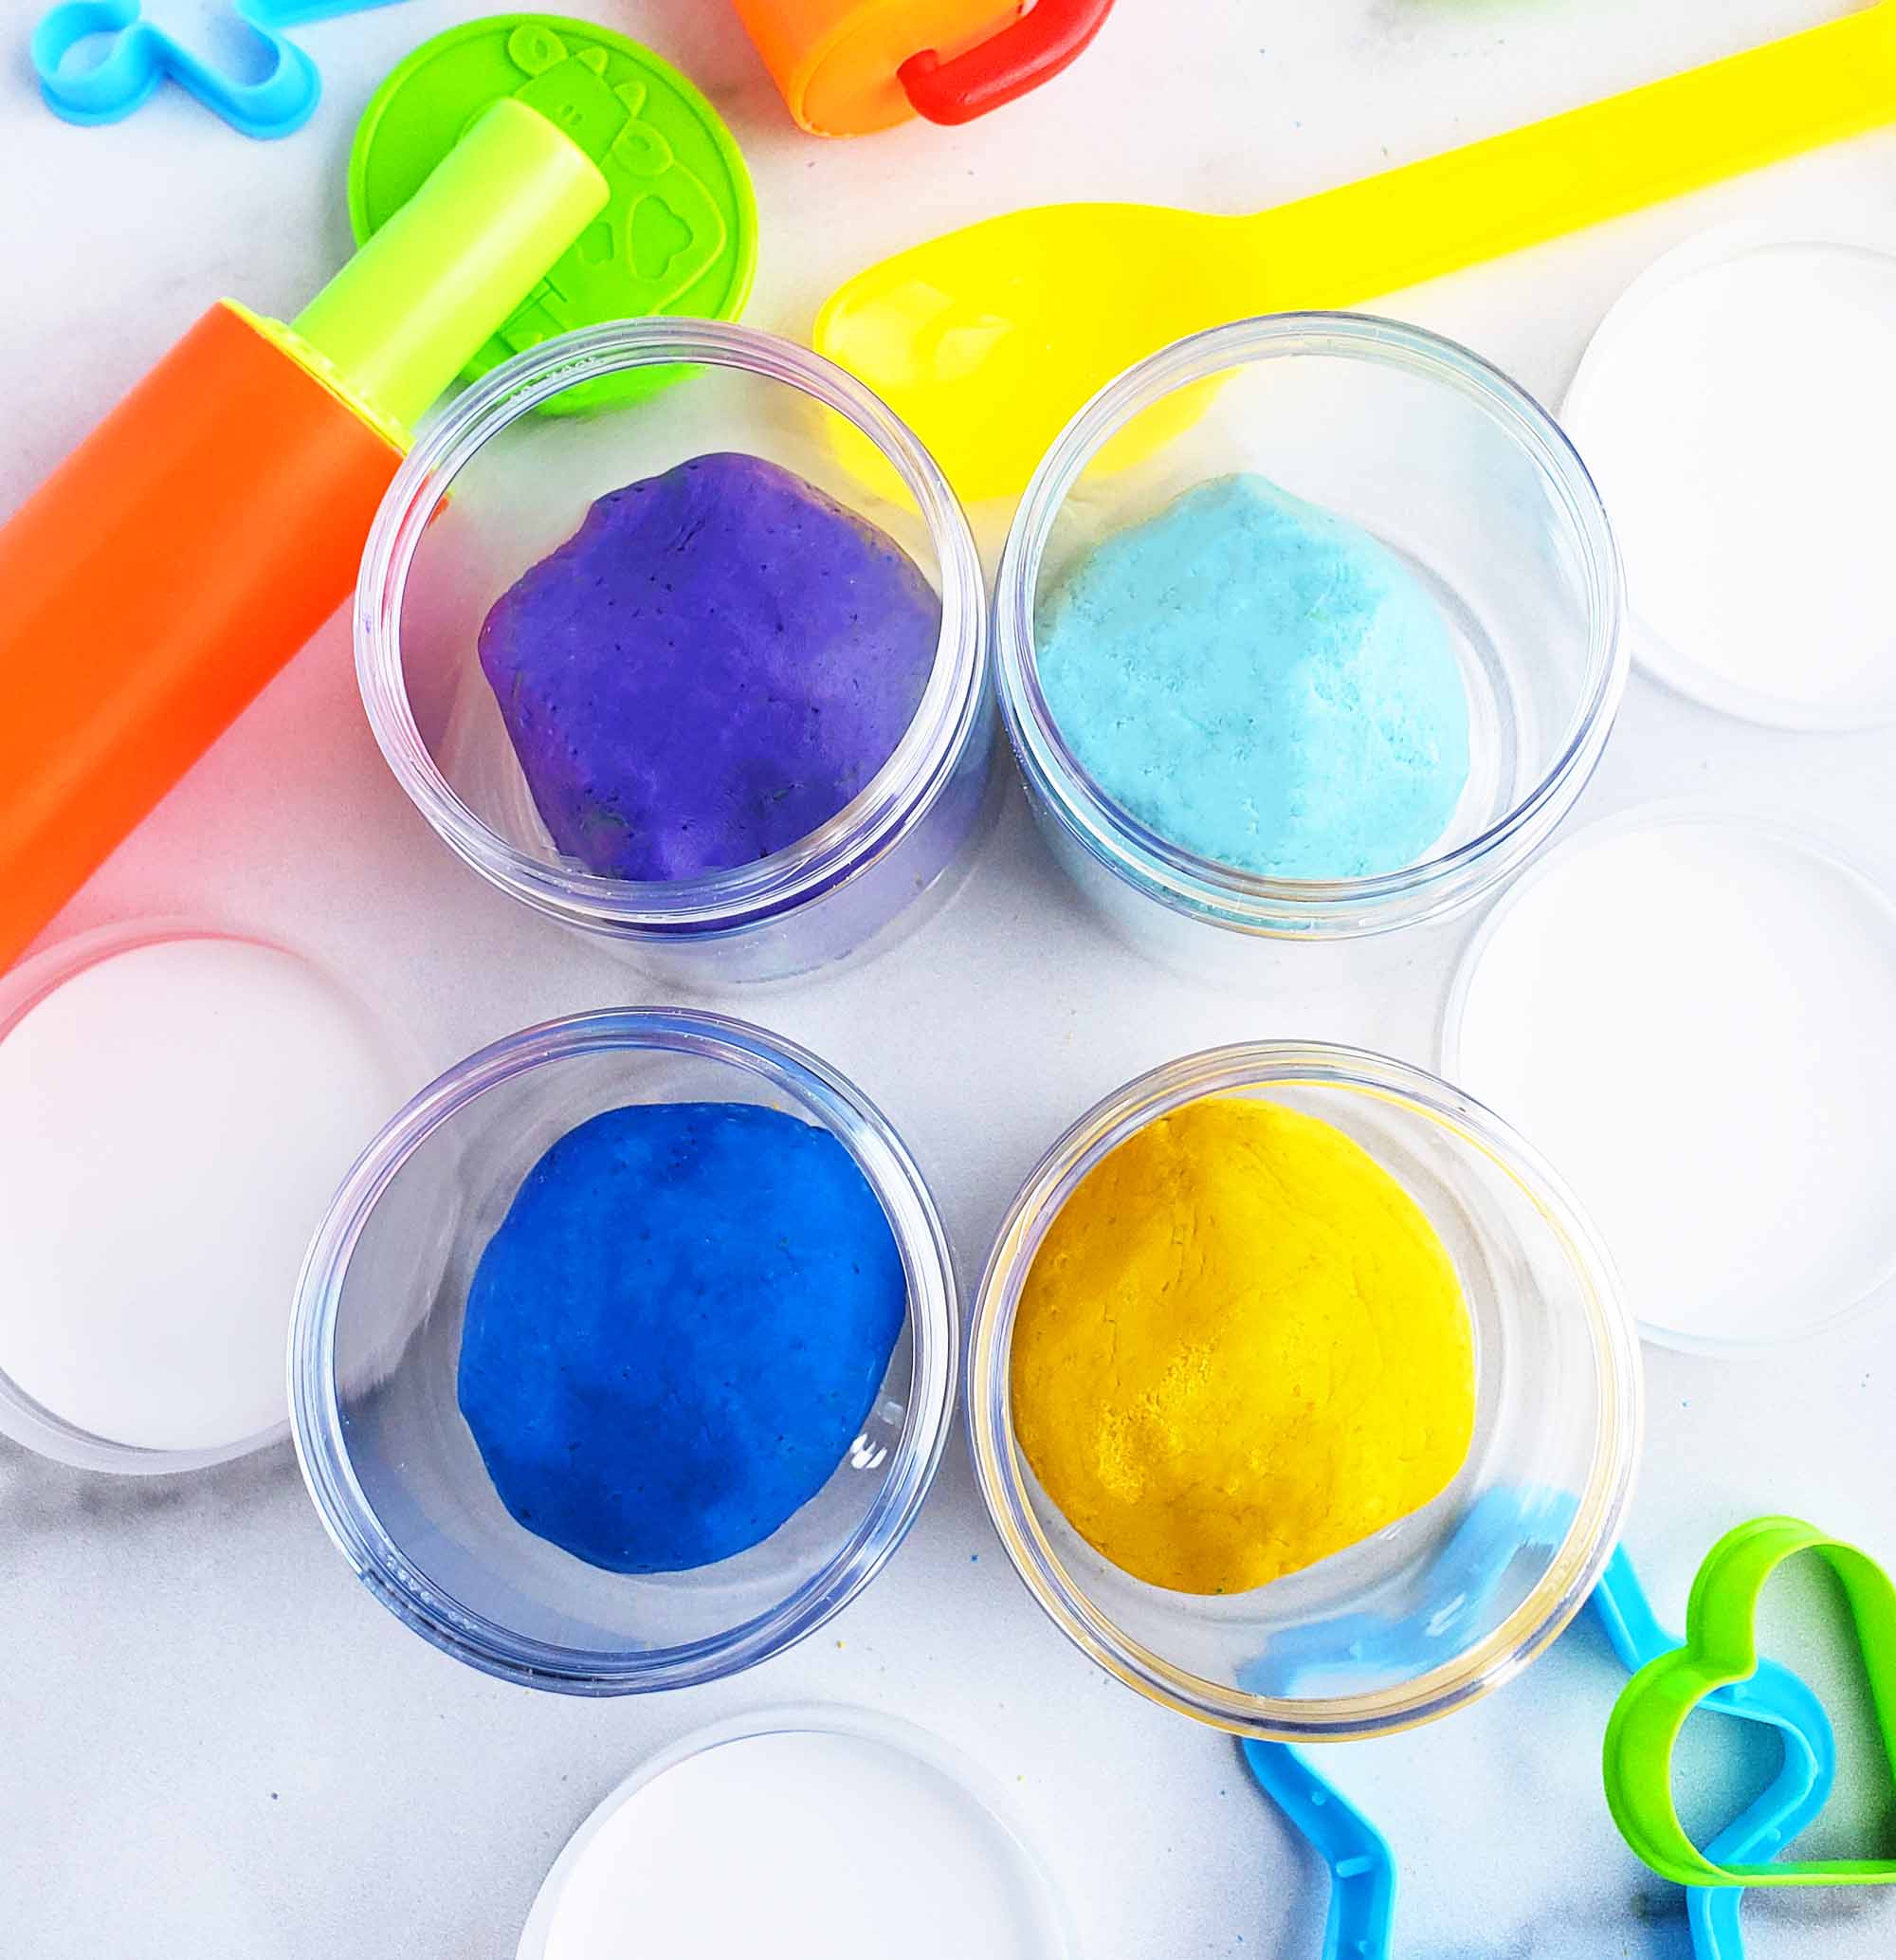
Store in a zip-lock bag or airtight container, and place in the refrigerator. If you notice the playdough getting a bit dry, you can add a few drops of water and knead that into the dough.
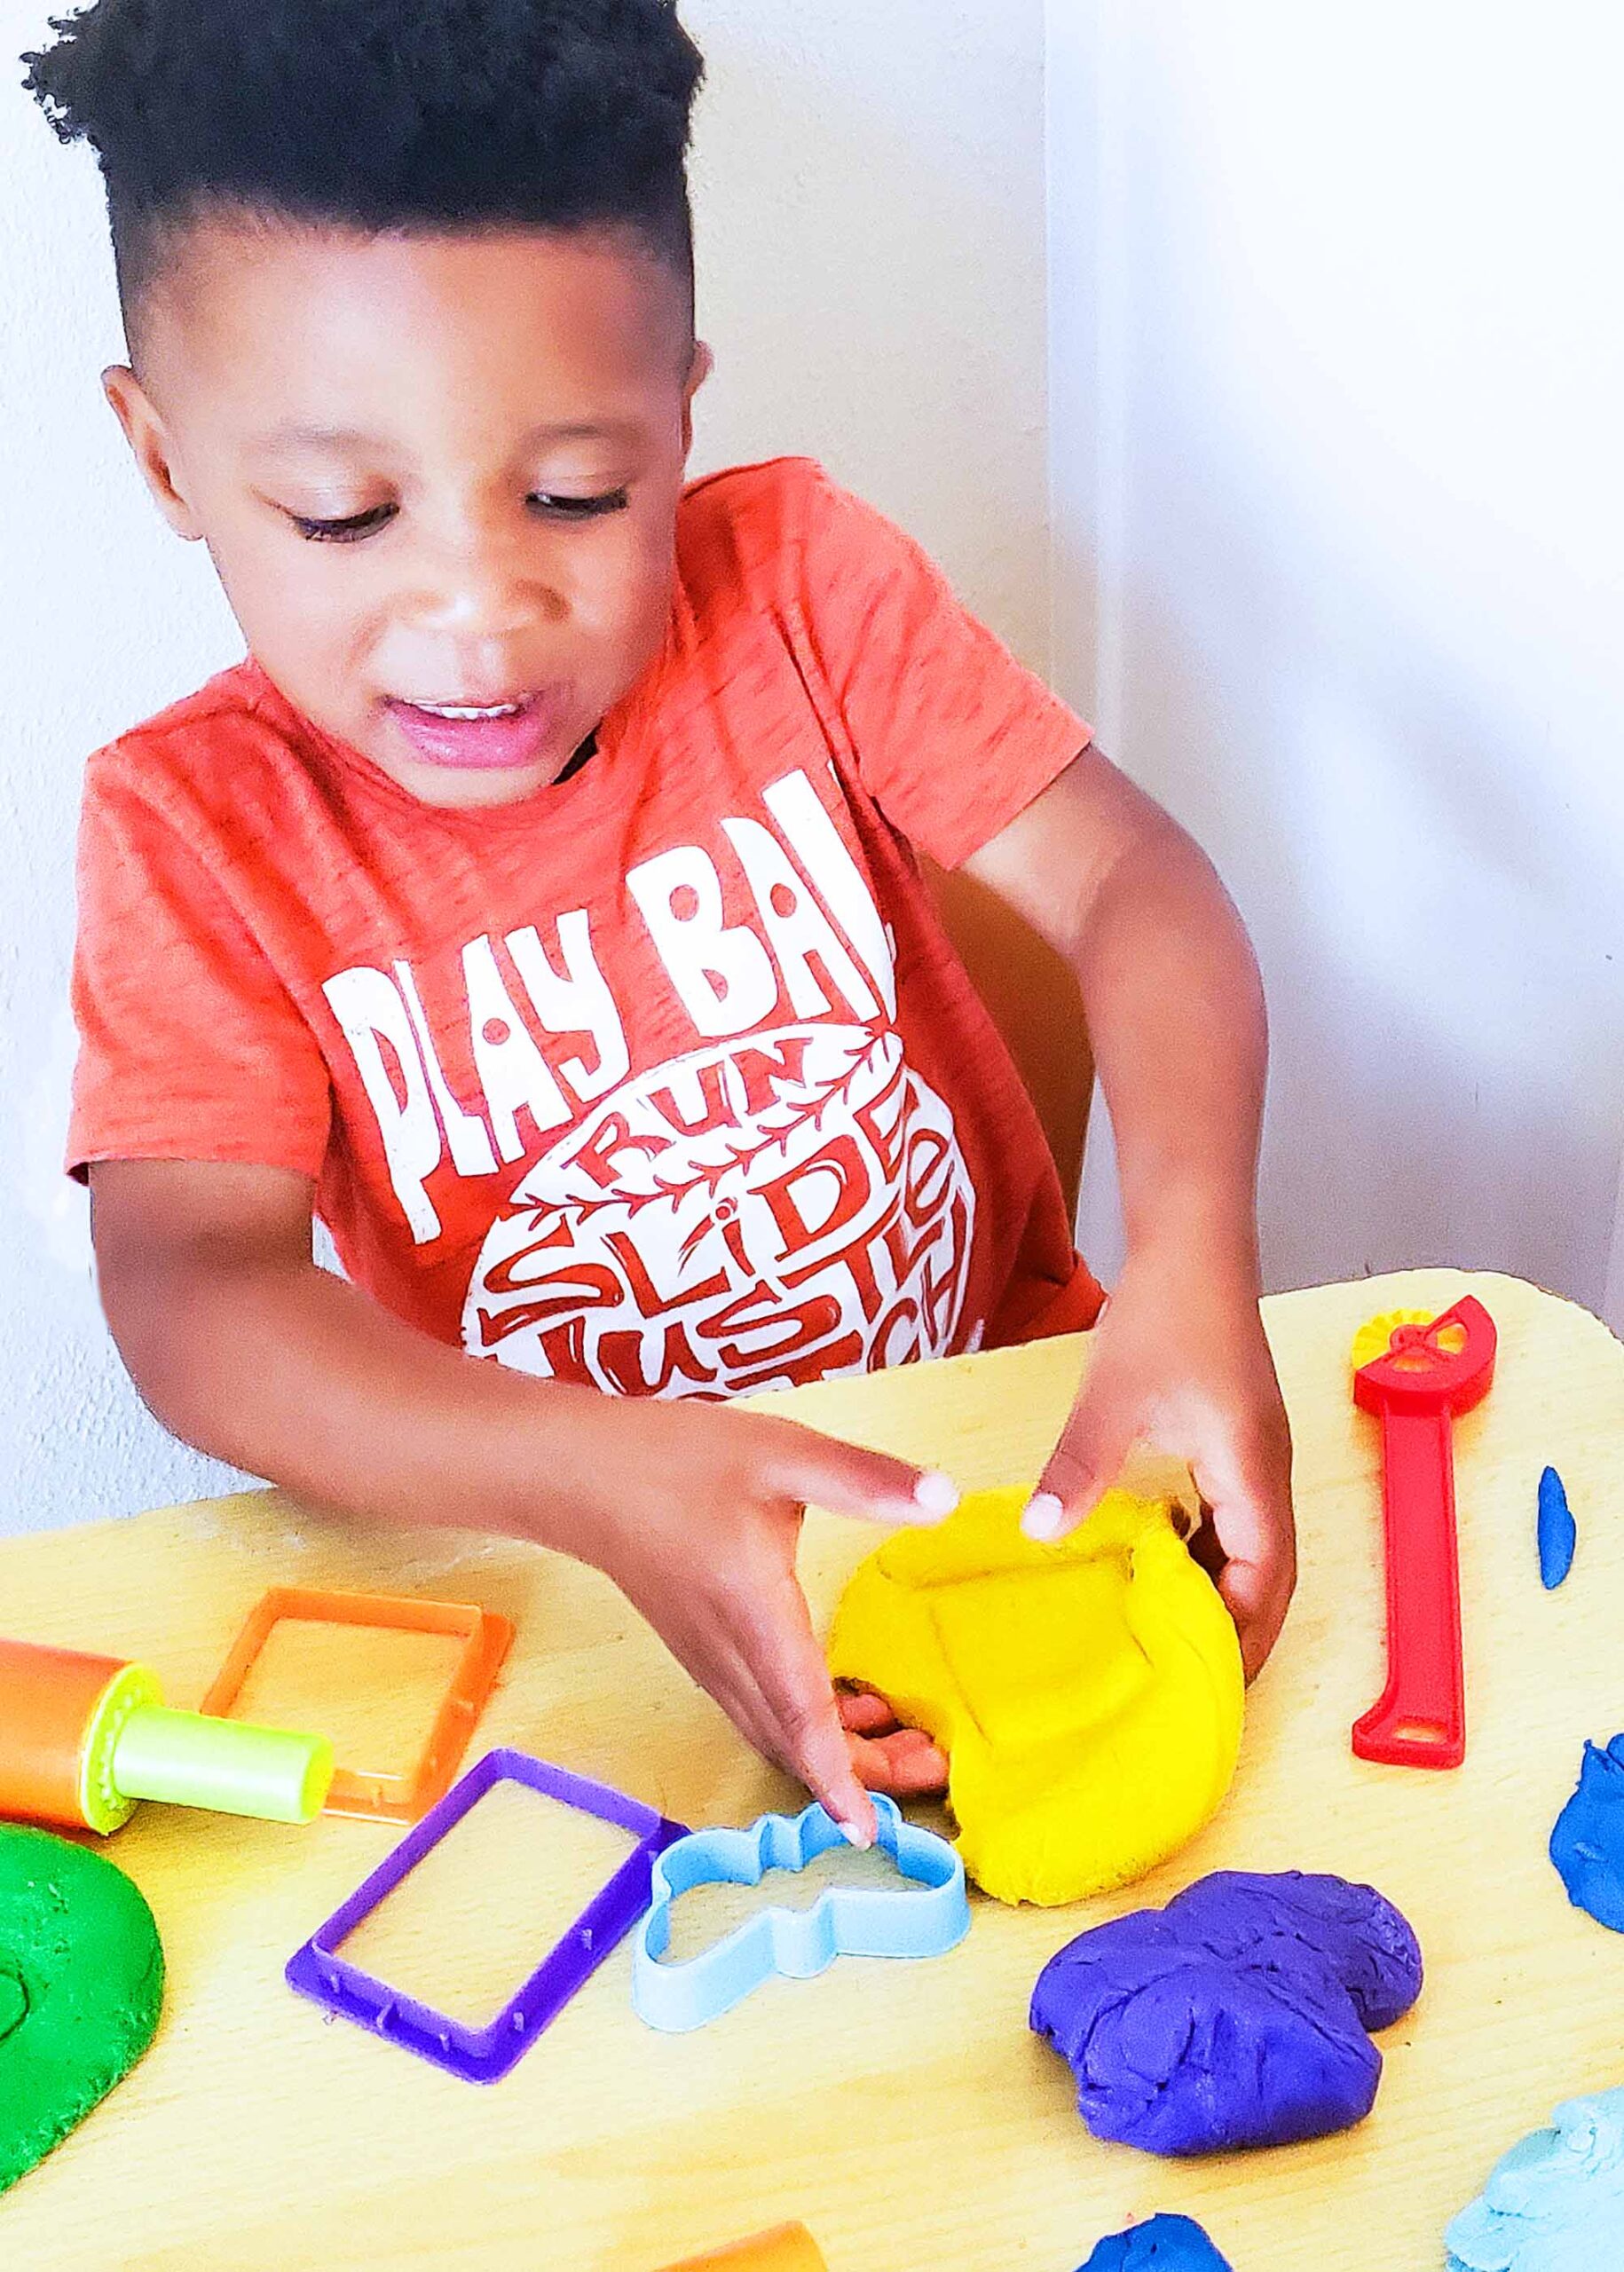
The kids loved this DIY Playdough and couldn’t believe that their very own mommy actually made it! Aside from this playdough recipe being so extremely affordable, it’s absolutely perfect! It holds its shape beautifully, but without being crumbly, and requires zero cooking.
Go ahead and give it a try and be sure to let me know how it turns out!

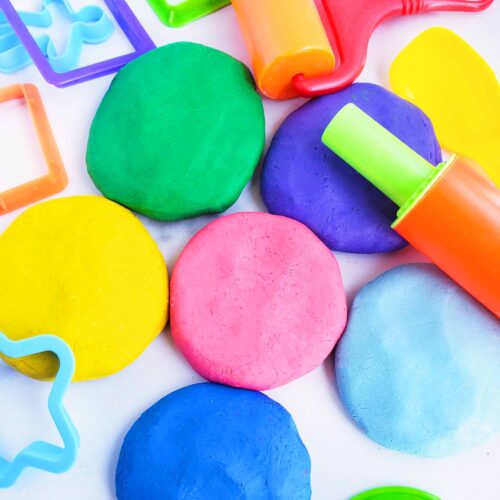
Easy No-Cook DIY Playdough
Ingredients
- 1 cup Sprouts All-Purpose Flour
- 1 tablespoon Sprouts Canola Oil
- 1/2 cup salt
- 1/2 cup warm water
- 2-3 drops food coloring
Instructions
- Combine flour and salt in a medium bowl. Slowly stir in the oil, warm water, and 2-3 drops of food coloring until the mixture is well combined.
- Transfer the dough to a flat surface and let it sit for a few minutes. It may feel a bit sticky, but DO NOT add more flour. As the dough sits, the salt will absorb the extra moisture. Knead well.
- If your dough is sticky after about 5 minutes, add an additional 2 tablespoons of flour at a time until it is the perfect consistency.
Notes
Store in a zip-lock bag or airtight container, and place in the refrigerator. If you notice the playdough getting a bit dry, you can add a few drops of water and knead that into the dough.


I was wondering how warm the water should be. I was considering making this in my classroom and our water doesn’t get very hot and I wouldn’t have a way to heat it without sending someone to a microwave. Thanks!
Hi! The water doesn’t have to be really warm, so you should be okay!
Do you have to use canola oil or can it be vegetable oil or olive oil?
Hi! You could use vegetable oil. I haven’t tried it with olive oil
Works with olive oil too! Tried it today.
I’m so glad that you gave it a try!
I found I had to add a TON more flour than recommended and even then it was sticking to the table and to the kids warm hands. It was better than most recipes I’ve tried (we’re new to making playdoh) so will try it again to see if it was something we did incorrectly.
hi! with this recipe, you have to let it sit for a while right after mixing the ingredients together. This allows the salt to absorb some of the moisture. After it sits, add a little flour at a time if needed.
Can you make it with gluten free flour
I haven’t tried to make it with gluten free flour, so I’m not sure if it will produce the same product.
hi
i tried it and its trun amazing .my little ones loved it .
I’m so glad that y’all enjoyed it!
I was just wondering, how long will it last without a fridge? I want to make it for my kiddos at school but we dont have a fridge to store it in.
I’m not exactly sure, but when I left mine out for about 2 days, it dried out and I had to add more water to get the texture back.
This worked great! My mom used to make us homemade play dough growing up and the process was far more complicated. I just made it for my daughter and she absolutely loves it!
I’m so glad that you enjoyed it!
Our first time making playdough.
Just made this and it was perfect consistency. I added over ten drops of food coloring and having trouble with it giving it color but my 3 year old is loving it either way.
I’m so glad that y’all are enjoying it!
How much does it yield? I’m making it to split into 7 individual amounts for my students. I was wondering if I need to make more than one batch.
Hi! It makes about 1 cup of playdough. I would recommend making a few batches so that you would have enough to split up 🙂
brilliant worked perfect, not wet at all, super easy
Thanks so much for trying it out!
I use baby oil instead of canola so I don’t have to store in the fridge!
Just gave this a try myself. I’m going to have each one of my students make it. This is a great recipe.
Thanks so much!!
This recipe worked great! I used spirulina powder for green, turmeric for yellow and juice from boiled frozen blueberries for purple. I let the dough sit as you recommended and the final texture is perfect! Thank you.
Yay! Thanks for giving it a try!!
This playdough is great! Not sticky at all and was super quick to make.
I’m so glad that you liked it!
Hi, how to make it to be scented? Can I add baby cologne?
Try adding in a few drops of some essential oils! It works great!
This was great! First time making play dough and I was really impressed by how easy it was. I stirred it up just before snack time, let it sit while we ate, and it was perfect afterwards. I made it with baby oil. Sticky enough to stick together and not flake apart, but brushed right off the kids hands and easy cleanup on our wooden floors without residue. I’m planning to keep it in a Ziploc bag but even if it doesn’t last long I’ll still be pleased because it’s so cheap and easy to make and was great for our 3.5yo and 20mo to play with.
Thanks for giving it a try!
We got it out again two days later and it was a bit sticky, but the kids had fun kneading in more salt and flour and then it was fine.
I absolutely love this recipe… First time play doh maker and was overwhelmed on how many ways you can make play doh. This by far is the easiest and love the small batch size. I used half measurements because I didn’t have enough salt and it still came out perfect. Def my to go recipe.
I’m so glad that you like this recipe!!